
SD cards are now become the most
popular storage media to store various kinds of data. These cards are
much compact in size and so as it's very easy to carry data from one
place to another by storing them in SD cards. Also various digital
devices like smart-phones, tablets, cellphones, etc are featured to
equip these SD cards to store its data into it and can be used as per
the user's requirements. Most of the Picture lovers also use these
storage media in their cameras to store pictures in various formats
including JPEG, BMP, GIF, TIFF, and many other popular ones. Thus, SD
cards now become a very useful way for people to deal with pictures
and other kinds of data anywhere.
It's really a great experience for
people who are using SD cards to store their favorite moments in form
of pictures, but also millions of individuals who face unintentional
picture loss situations due to possible reasons. If you are also one
of them, then needn't to be panic for the loss, as with the help of a
backup file you can easily restore them. And if you don't have a
backup file to recover the pictures, then going through some simple
steps can easily aid you. Here are the best considered steps for you
to perform recovery of your lost images in an easy way.
For Windows

For Mac OS X

User Guide For JPEG Recovery Program
Step 1- Launch the application.

Step 2- Select the media from which you have to recover the lost or deleted photos. Start Scan.

Step 3- As the scanning completes, you can see the preview of recovered files.

Step 4- This will help you to select the region of the selected media.

Step 5- Choose the specific file types for recovery.

Step 6- Through method here, you can create the image of selected media on sector by sector basis.

Step 7- Specify the range.

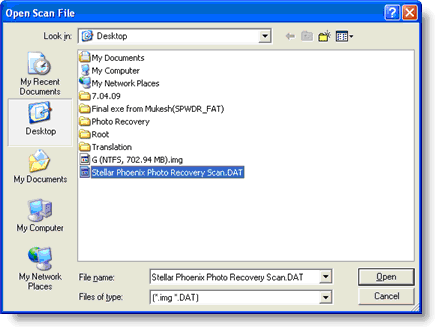
Step 8- Resume the recovery from the last saved scan results.

Step 9- Save the recovered files at your specified location.
For Windows
For Mac OS X
