
No other situation would be more frustrating rather than losing your pictures and photos which you have taken in your marriage ceremony or other memorable eves. Pictures are mostly extensioned with JPEG that is such an image format which is supported by almost all kinds of devices like computers, digital cameras, smart phones, and many others. JPEG Corruption is such a situation in which the stored JPEG files get unintentionally corrupted due to various possible reasons like virus infections, shutting the device improperly off on which the pictures are stored, internal media errors, and many more. And such situations mostly strikes people without any notice. You can also become a victim of such situations if you don't practice creating regular backup files on your device or computers.
Backups files are the most efficient way through which you can easily recovery corrupted JPEG images if the get unfortunately damaged. If you are currently facing such a situation, then just connect the storage media to your PC and use the BKF file to restore your picture. But, in case if you don't have any backup files with you, rather than opting to a third party JPEG Repair Program For Corrupted Images, you remains with no options. Here is the mostly trusted JPEG Recovery Program which can easily fulfill your needs, and let you access your corrupted or accidentally lost JPEG files in minutes.
For Windows

For Mac OS X

User Guide For JPEG Recovery Program
Step 1- Launch the application.

Step 2- Select the media from which you have to recover the lost or deleted photos. Start Scan.

Step 3- As the scanning completes, you can see the preview of recovered files.

Step 4- This will help you to select the region of the selected media.

Step 5- Choose the specific file types for recovery.

Step 6- Through method here, you can create the image of selected media on sector by sector basis.

Step 7- Specify the range.

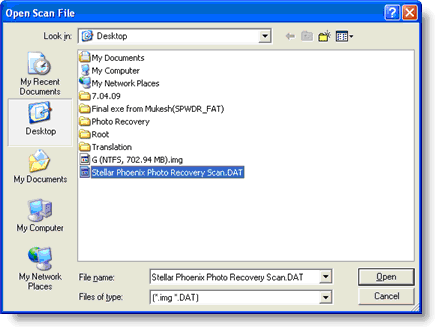
Step 8- Resume the recovery from the last saved scan results.

Step 9- Save the recovered files at your specified location.
For Windows
For Mac OS X